Notebook Component Overview
Notebook Catalog
Notebook Catalog screen displays list of notebooks which are created by user. There are following ways to navigate to the Notebook Catalog screen.
Either click on ‘Notebooks’ card from Dashboard screen
Or click on the ‘Notebooks’ link from sidebar navigation
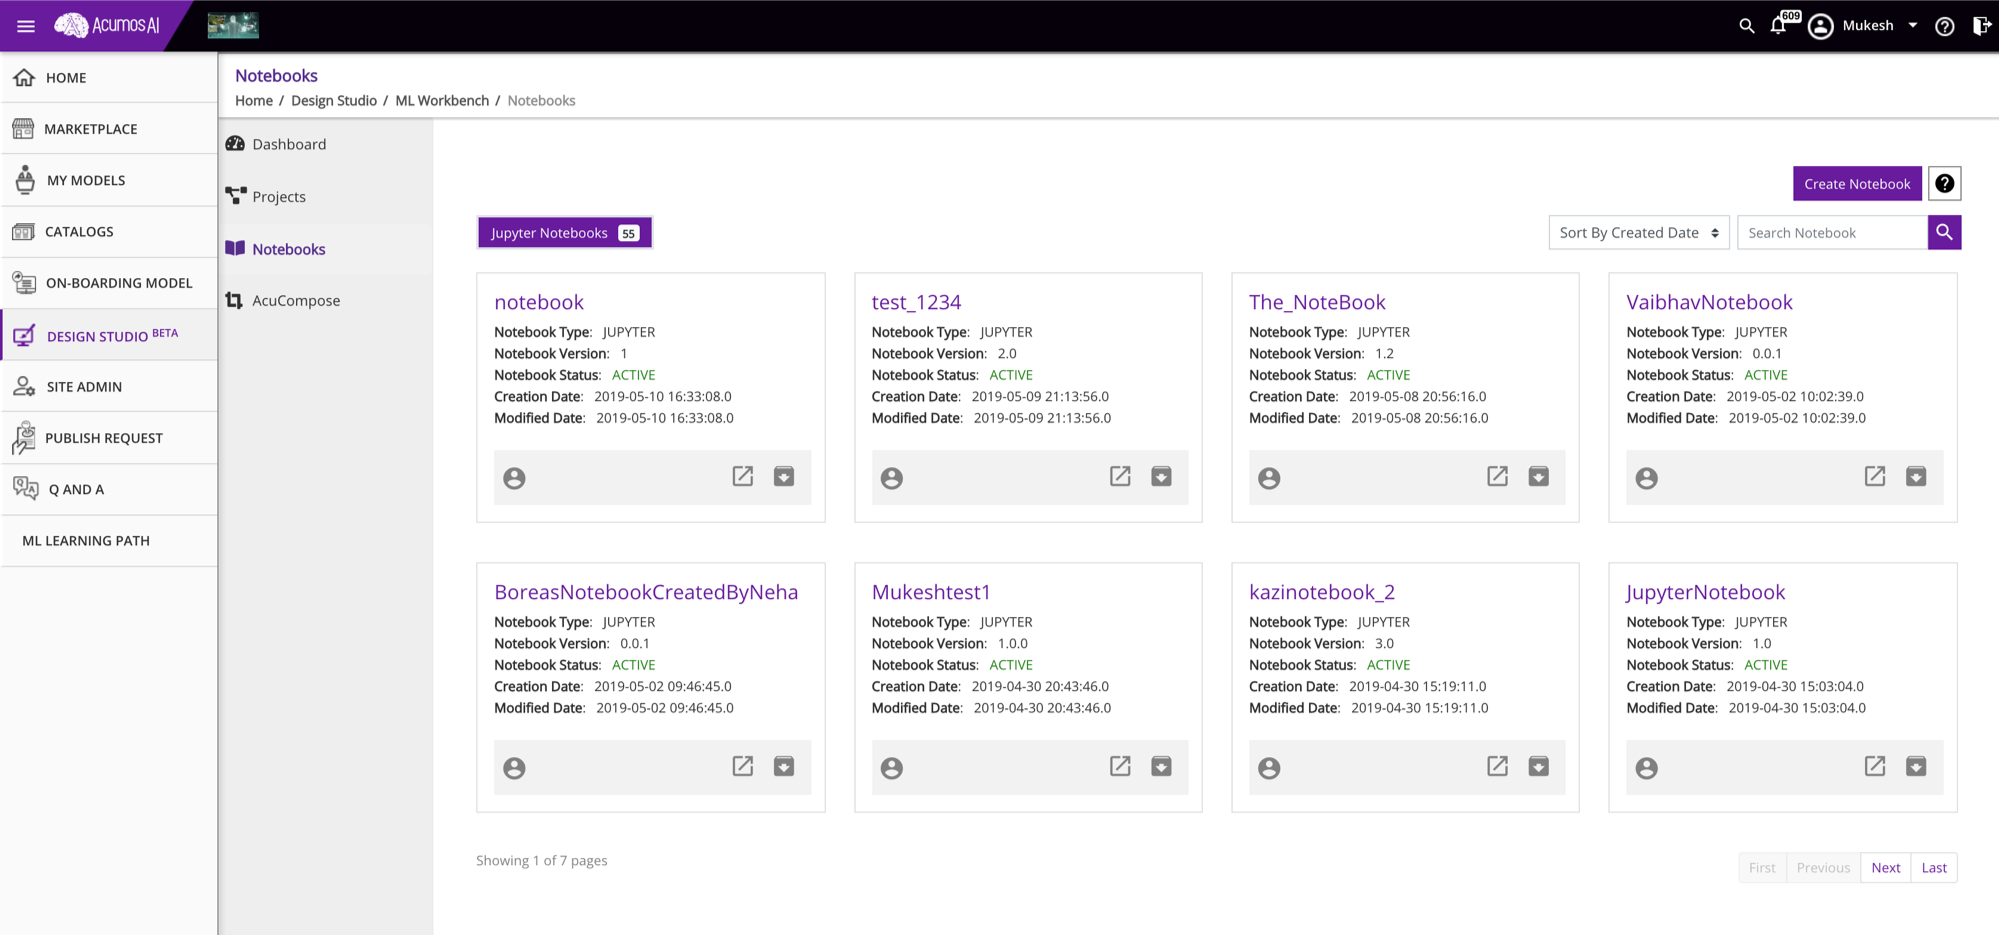
From notebook Catalog screen, user can perform either of following actions.
- Create Notebook
By clicking on ‘Create Notebook’ button present at top right corner, a dialog box will get open. Fill out all required information and click on the ‘Create Notebook’ button. After successful notebook creation, User will be able to see that created Notebook.
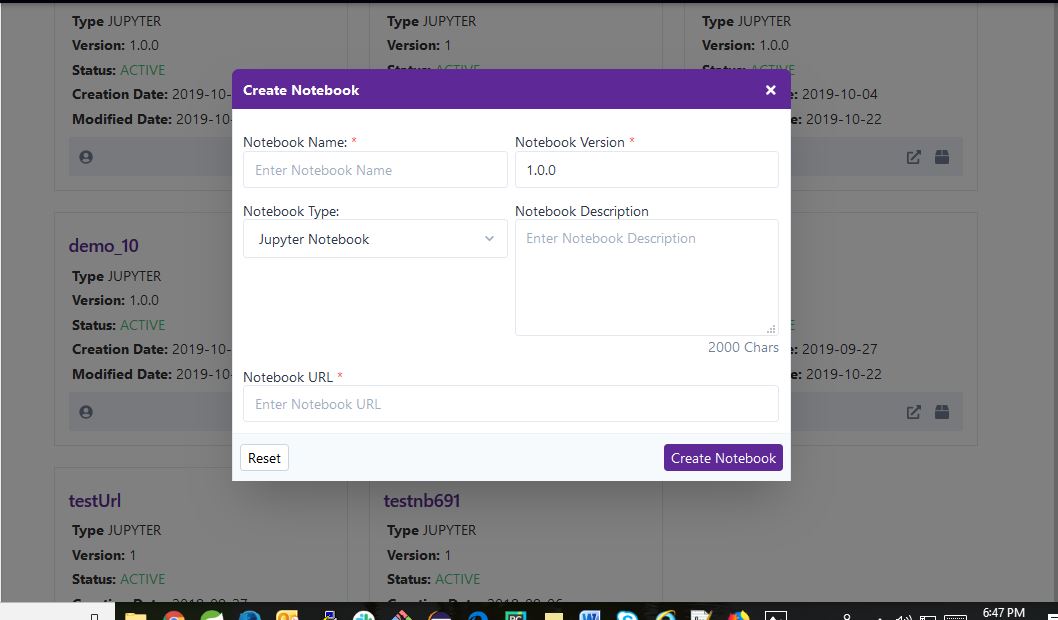
if external notebook flag is set to true, user will be able to create a external notebook in acumos by providing its url in the create notebook form.

- Archive Notebook
If user wish to Archive any Active Notebook then user can click on the Archive button present at the bottom right corner of that specific Notebook card. A confirmation dialog box will appear on click of Archive button. After confirmation, notebook will be archived.

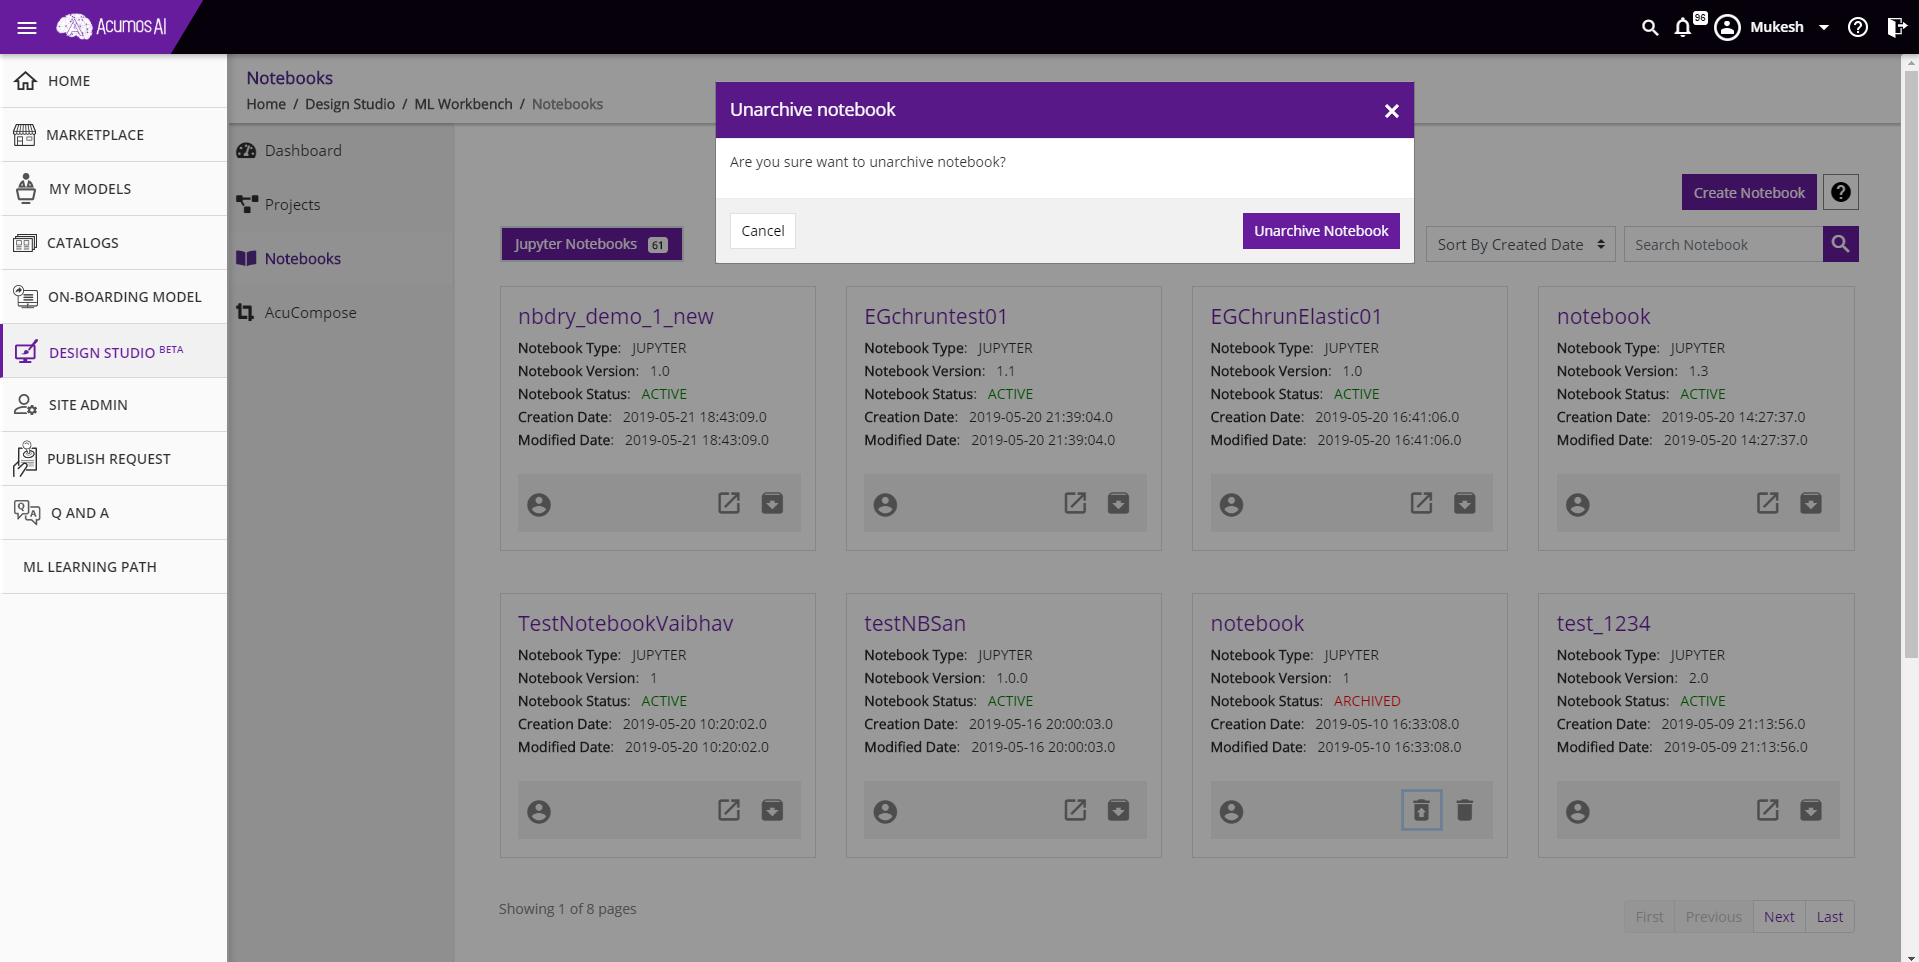
- Unarchive Notebook
If user wish to Unarchive any Archived Notebook then user can click on the Unarchive button present at the bottom right corner of that specific notebook card. A confirmation dialog box will appear on click of Unarchive button. After confirmation, notebook will be unarchived.
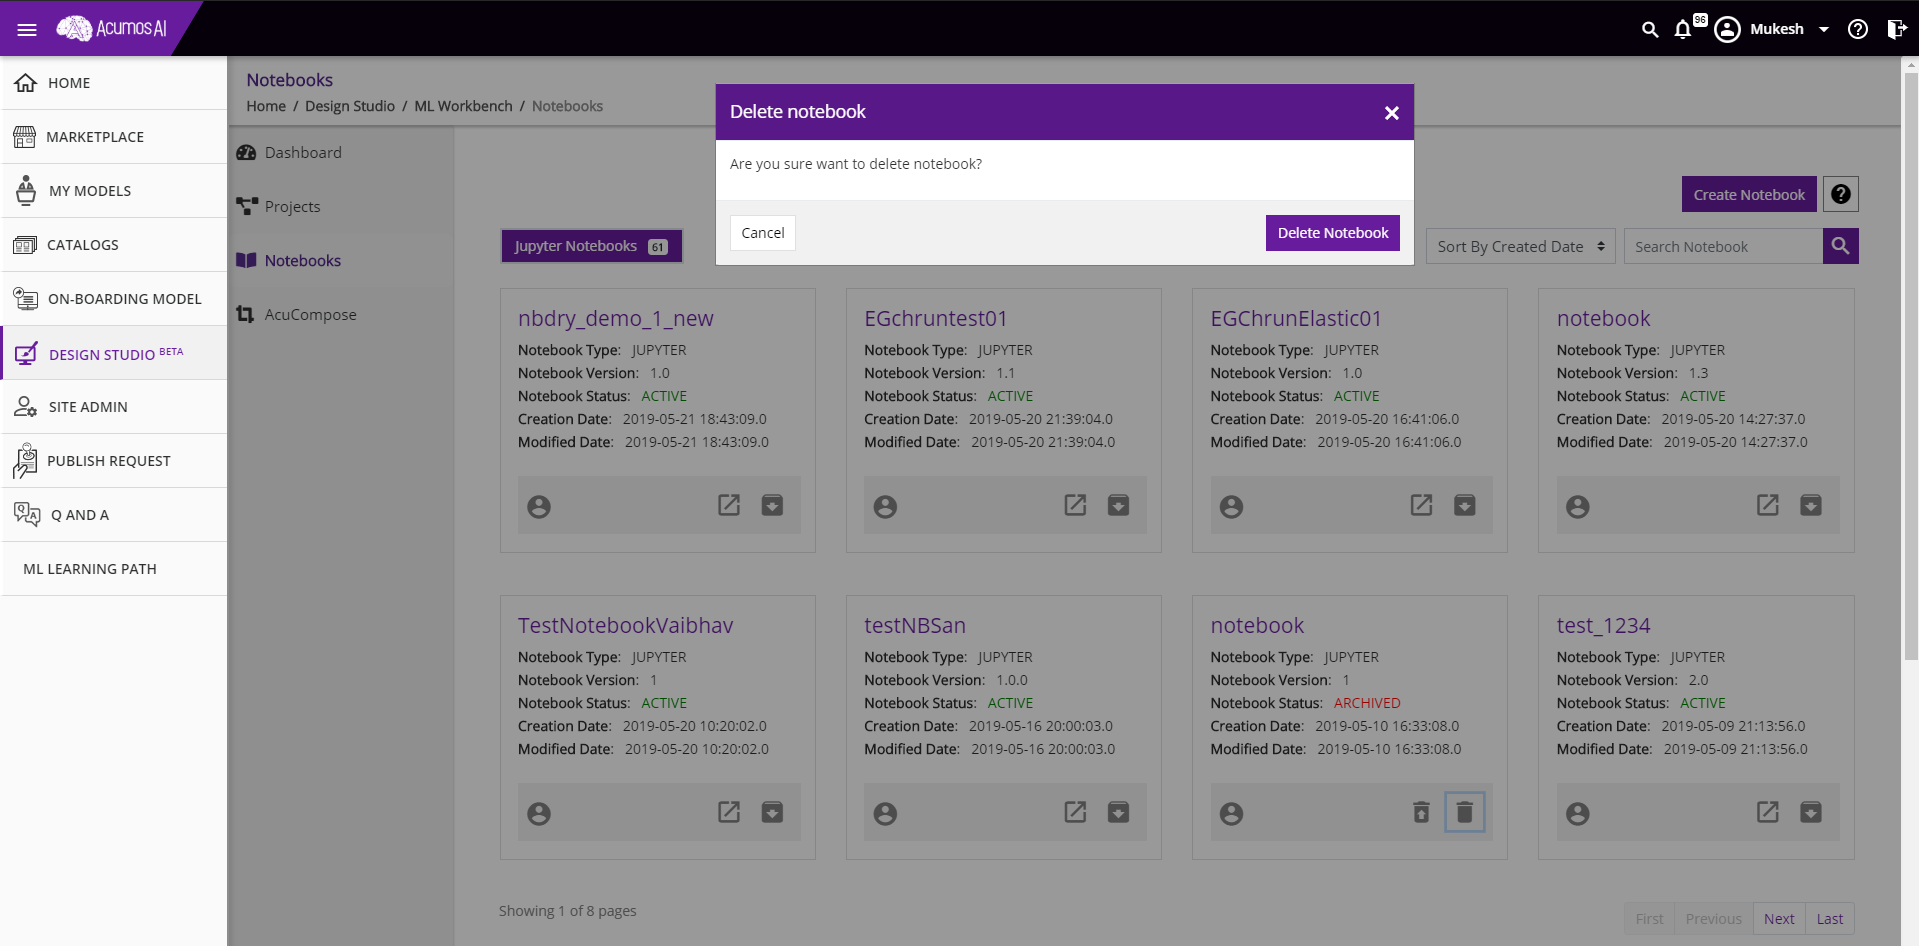
- Delete Notebook
If user wish to Delete any Archived Notebook then user can click on the Delete button present at the bottom right corner of that specific notebook card. A confirmation dialog box will appear on click of Delete button. After confirmation, notebook will be deleted physically from database and can not be restored.
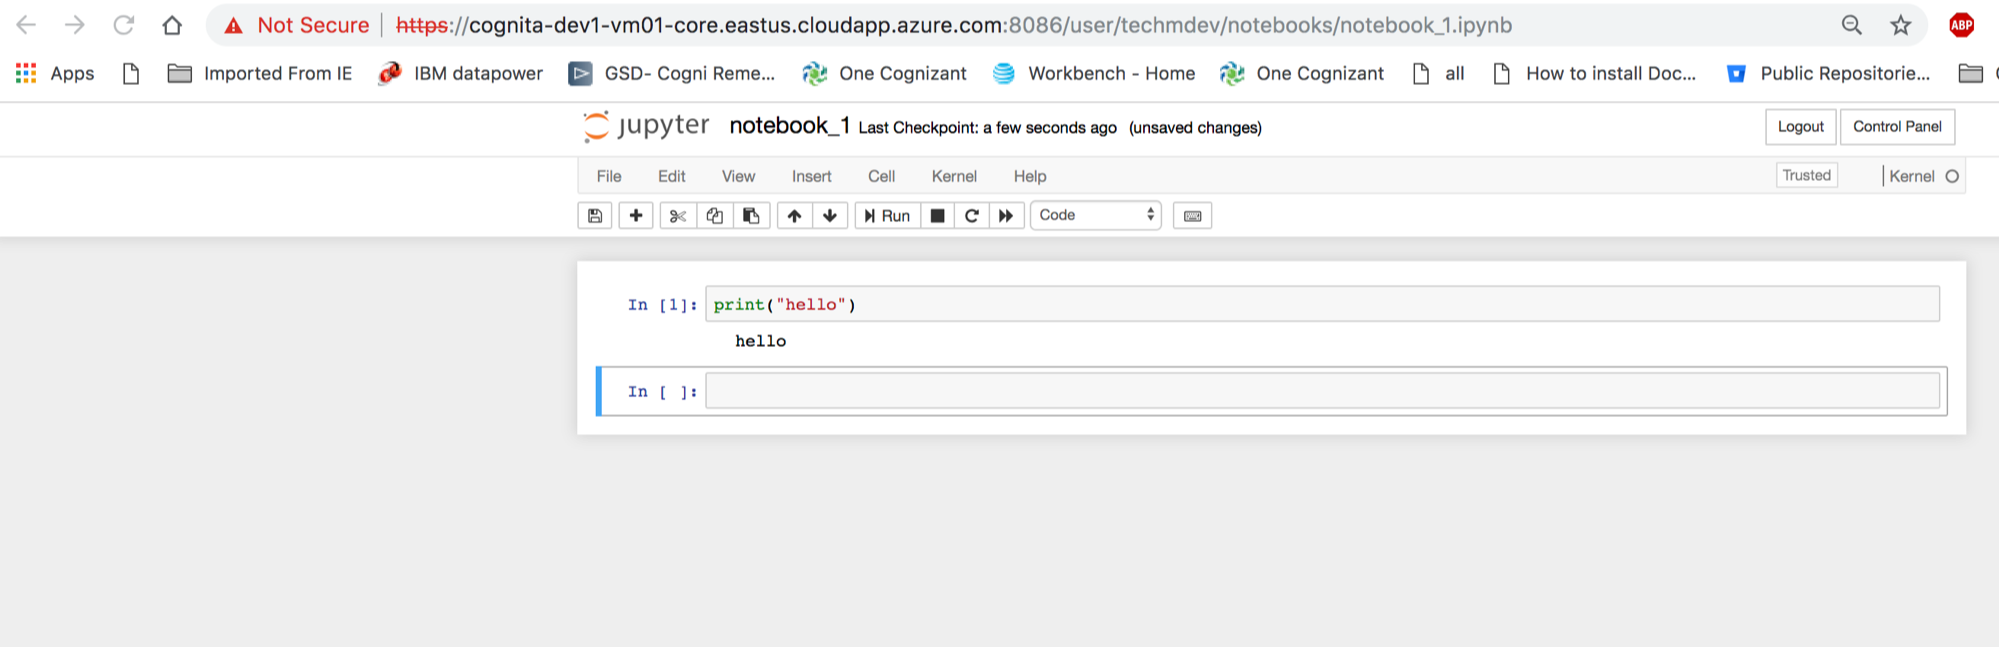
- Launch Notebook
If user wish to Launch any Active Notebook, then user can click on the Launch button present at the bottom right corner of that specific notebook card. On click of launch button, notebook will be opened in the user specific Jupyter Instance in a new browser tab.
Notebook Catalog screen includes following features/capabilities.
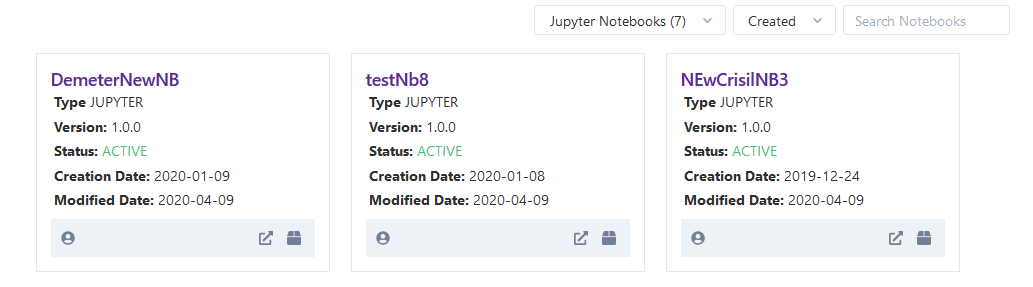
- Notebook Sorting
User can sort the notebook list by choosing either one of following options - By Notebook Created Date, By Notebook Name.
For Notebook Created Date
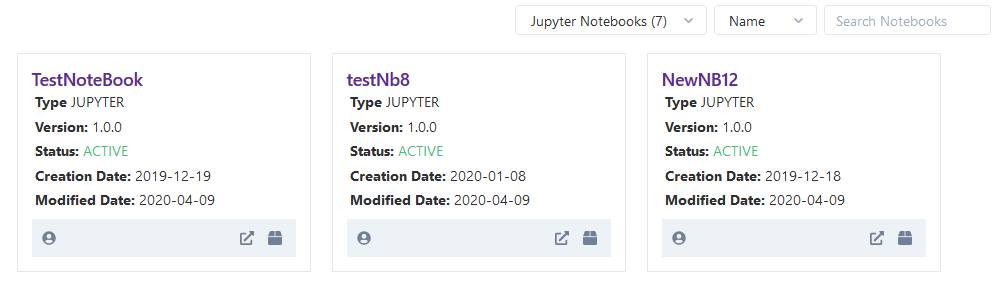
For Notebook Name
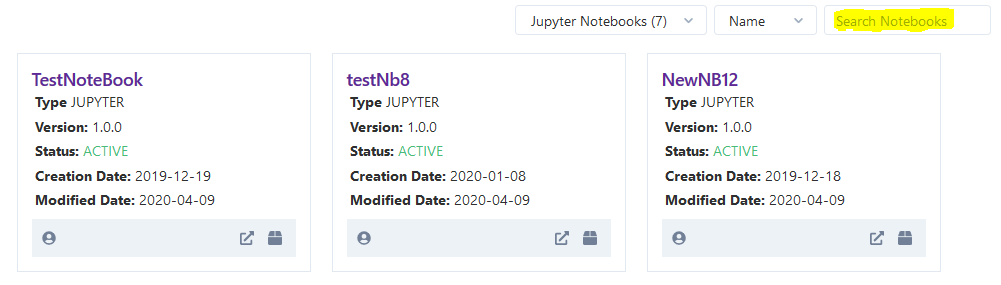
- Search with Notebook metadata
Notebook Catalog screen provides textual search capability as well where if user wish to search for specific text present in Notebook metadata then user can enter into the search box (present at the right top corner) and notebooks matching with the entered search criteria will get displayed.
- Pagination
In Notebook catalog screen, at a time only 8 notebooks will be displayed. User can use Pagination feature to navigate to another page if the user wishes to see other notebooks lists.
Notebook Details
On click on specific Notebook card in the Notebook catalog screen, user will be redirected to the Notebook details screen. In this screen, Notebook basic details will get displayed.
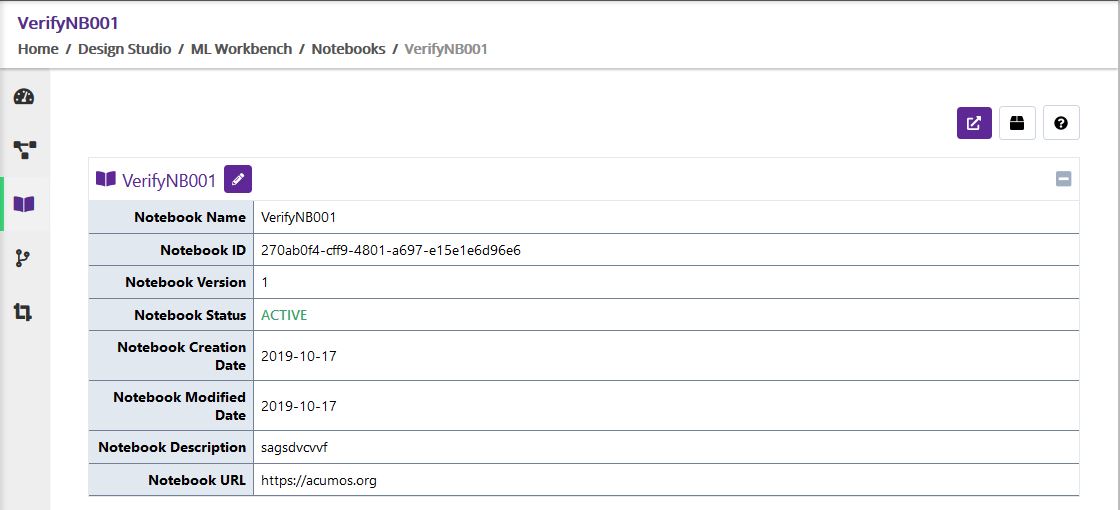
In the Notebook details screen, user can perform following Notebook relevant actions.
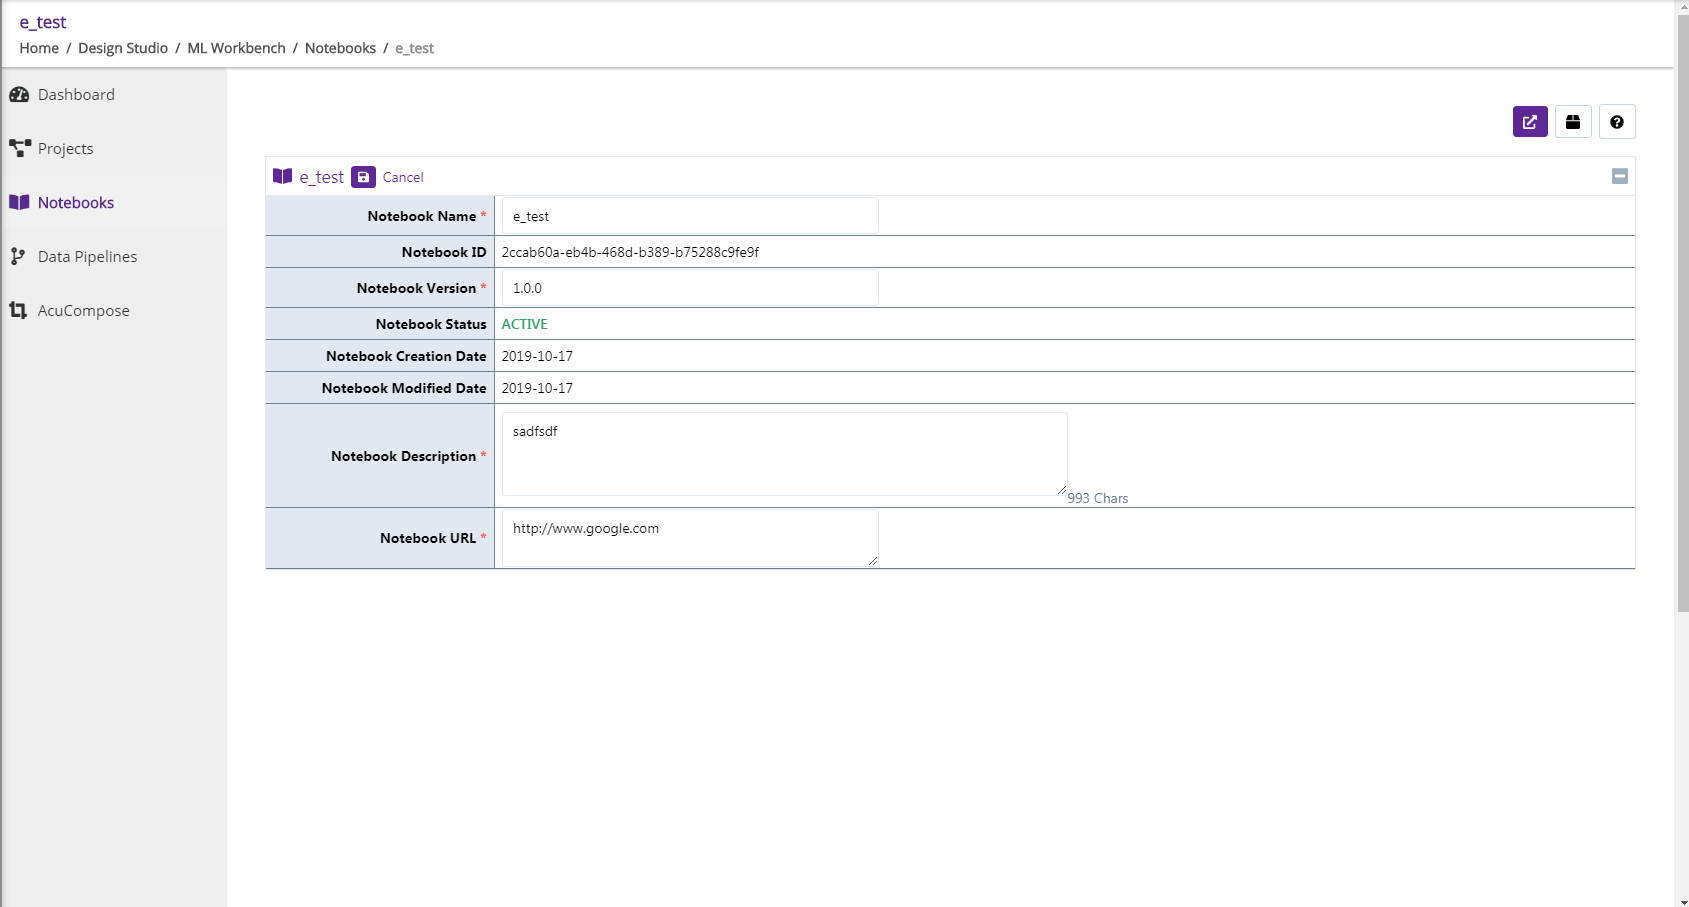
While creating, editing the notebook, user can give the external notebook url as well, to save user’s own jupyter or zappelin notebook details.
- Edit Notebook
To Edit the Notebook, click on the ‘Edit’ icon present on the card-header of the Notebook. On edit, notebook name, version and description field will become editable. User can provide new information and save it.
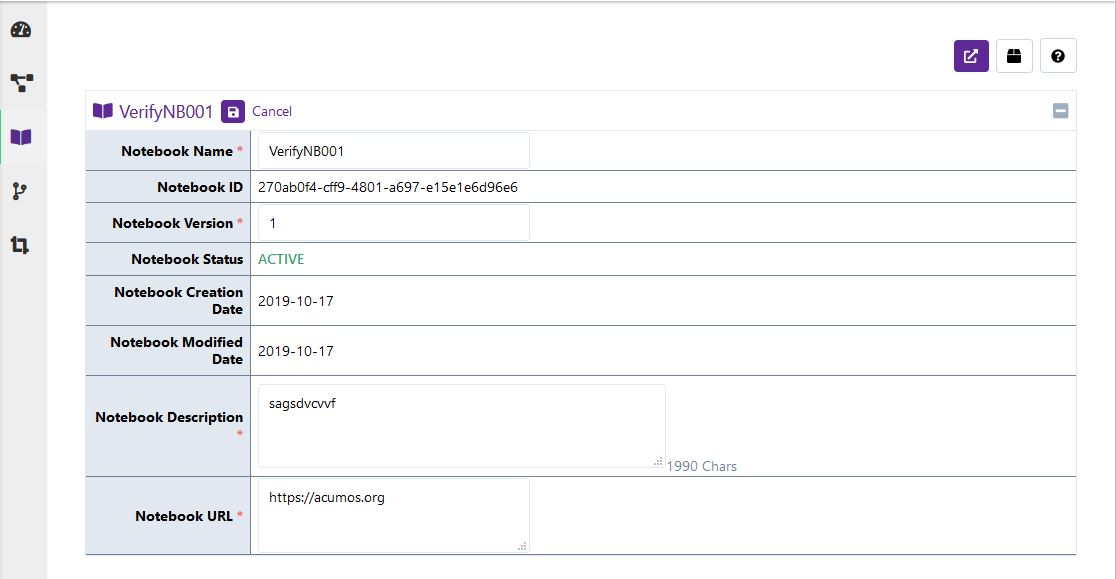
If external Notebook flag is set to true, user will be able to edit name, version, description and url as well.
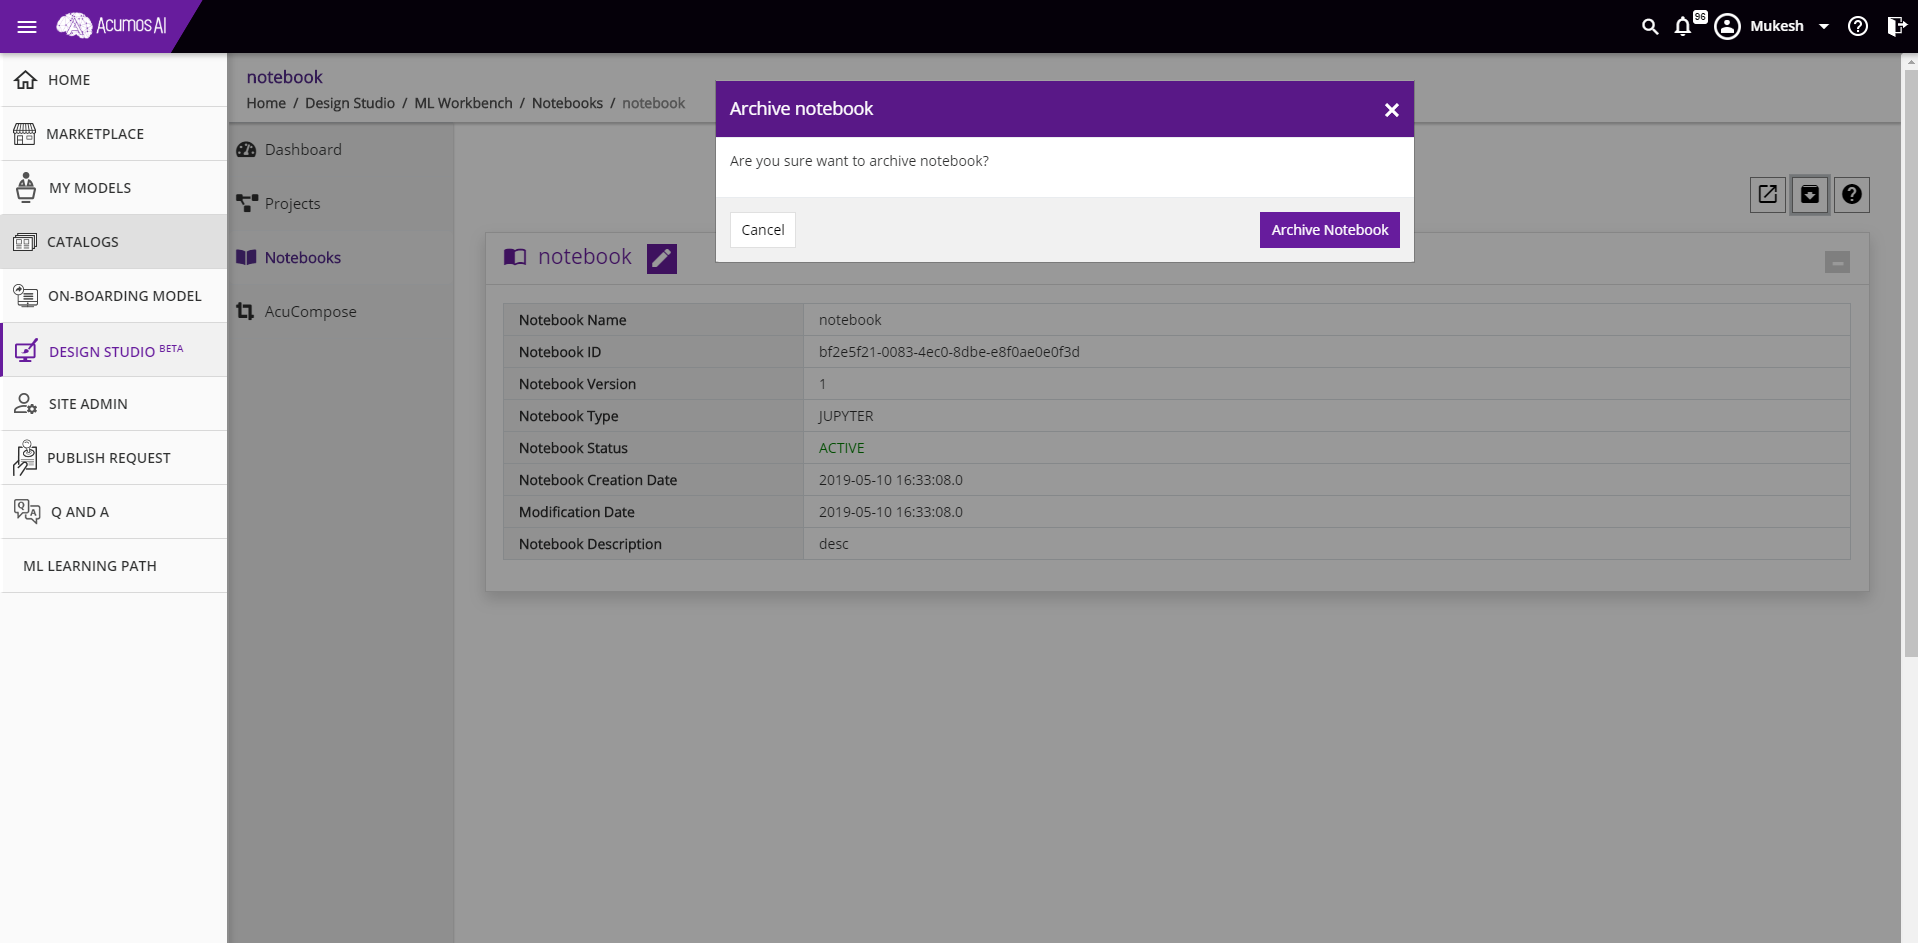
- Archive Notebook
To Archive Notebook, click on the Archive button. After user confirmation, notebook will get archived and status will be reflected in notebook details.
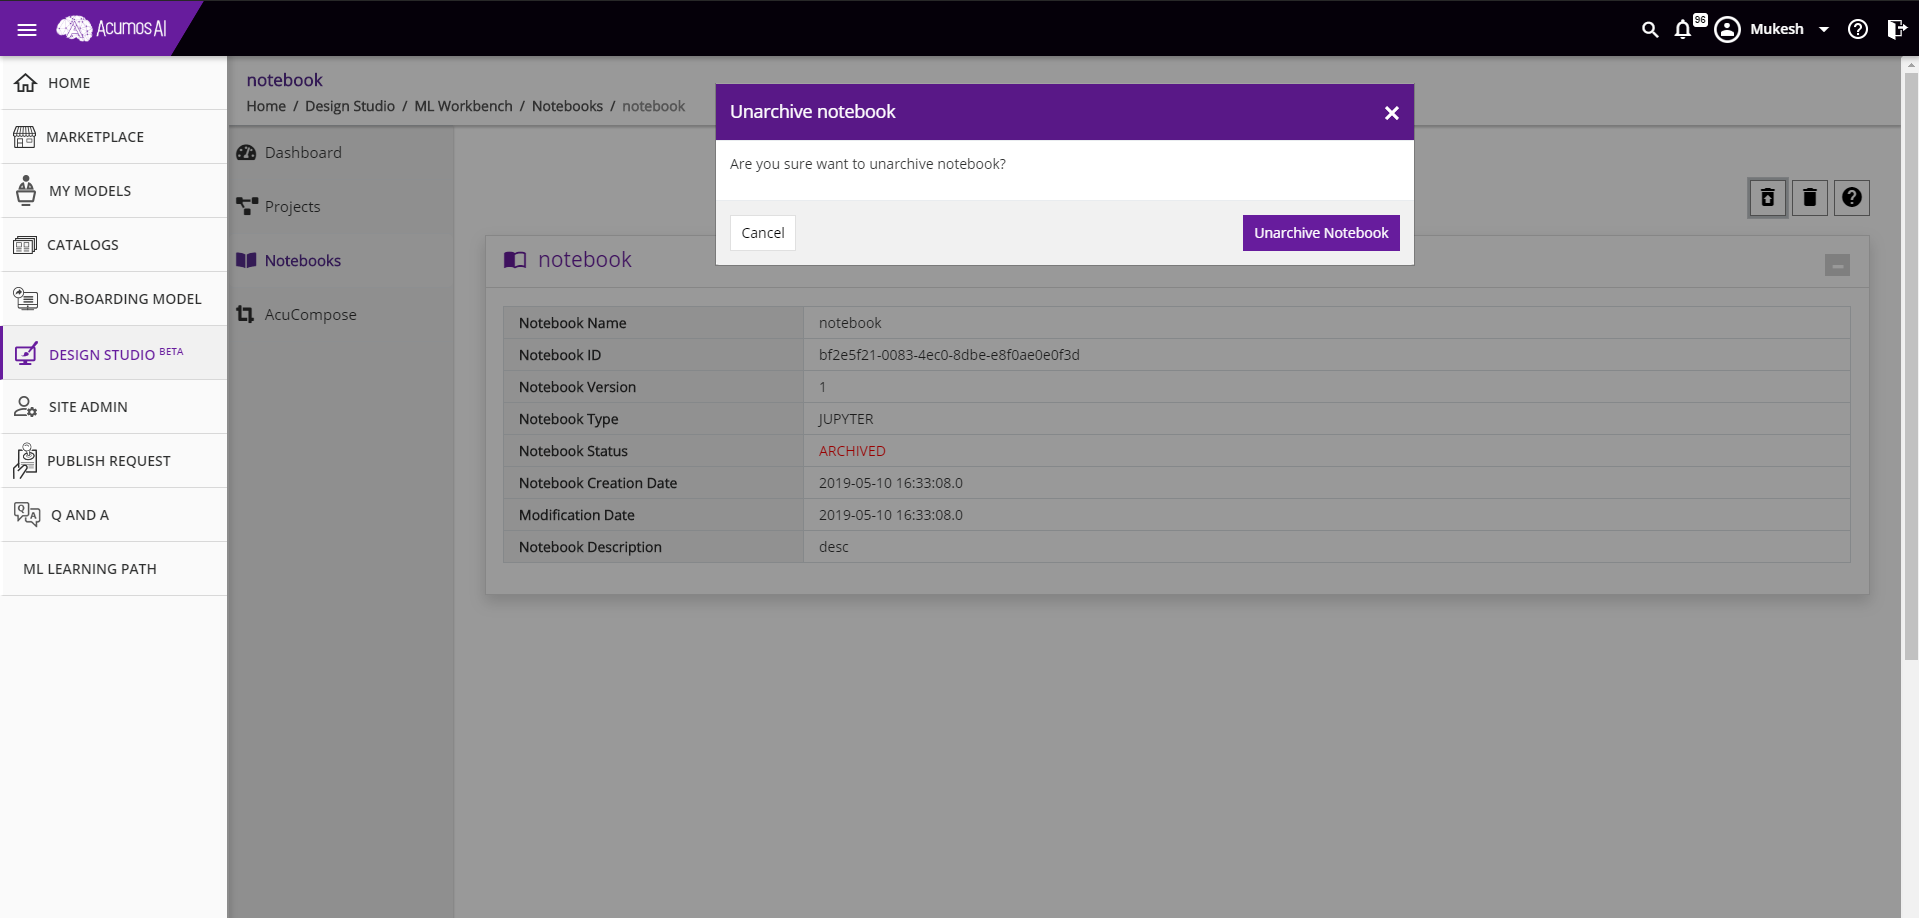
- Unarchive Notebook
To Unarchive Notebook, click on the Unarchive button. After user confirmation, notebook will get unarchived and status will be reflected in notebook details.
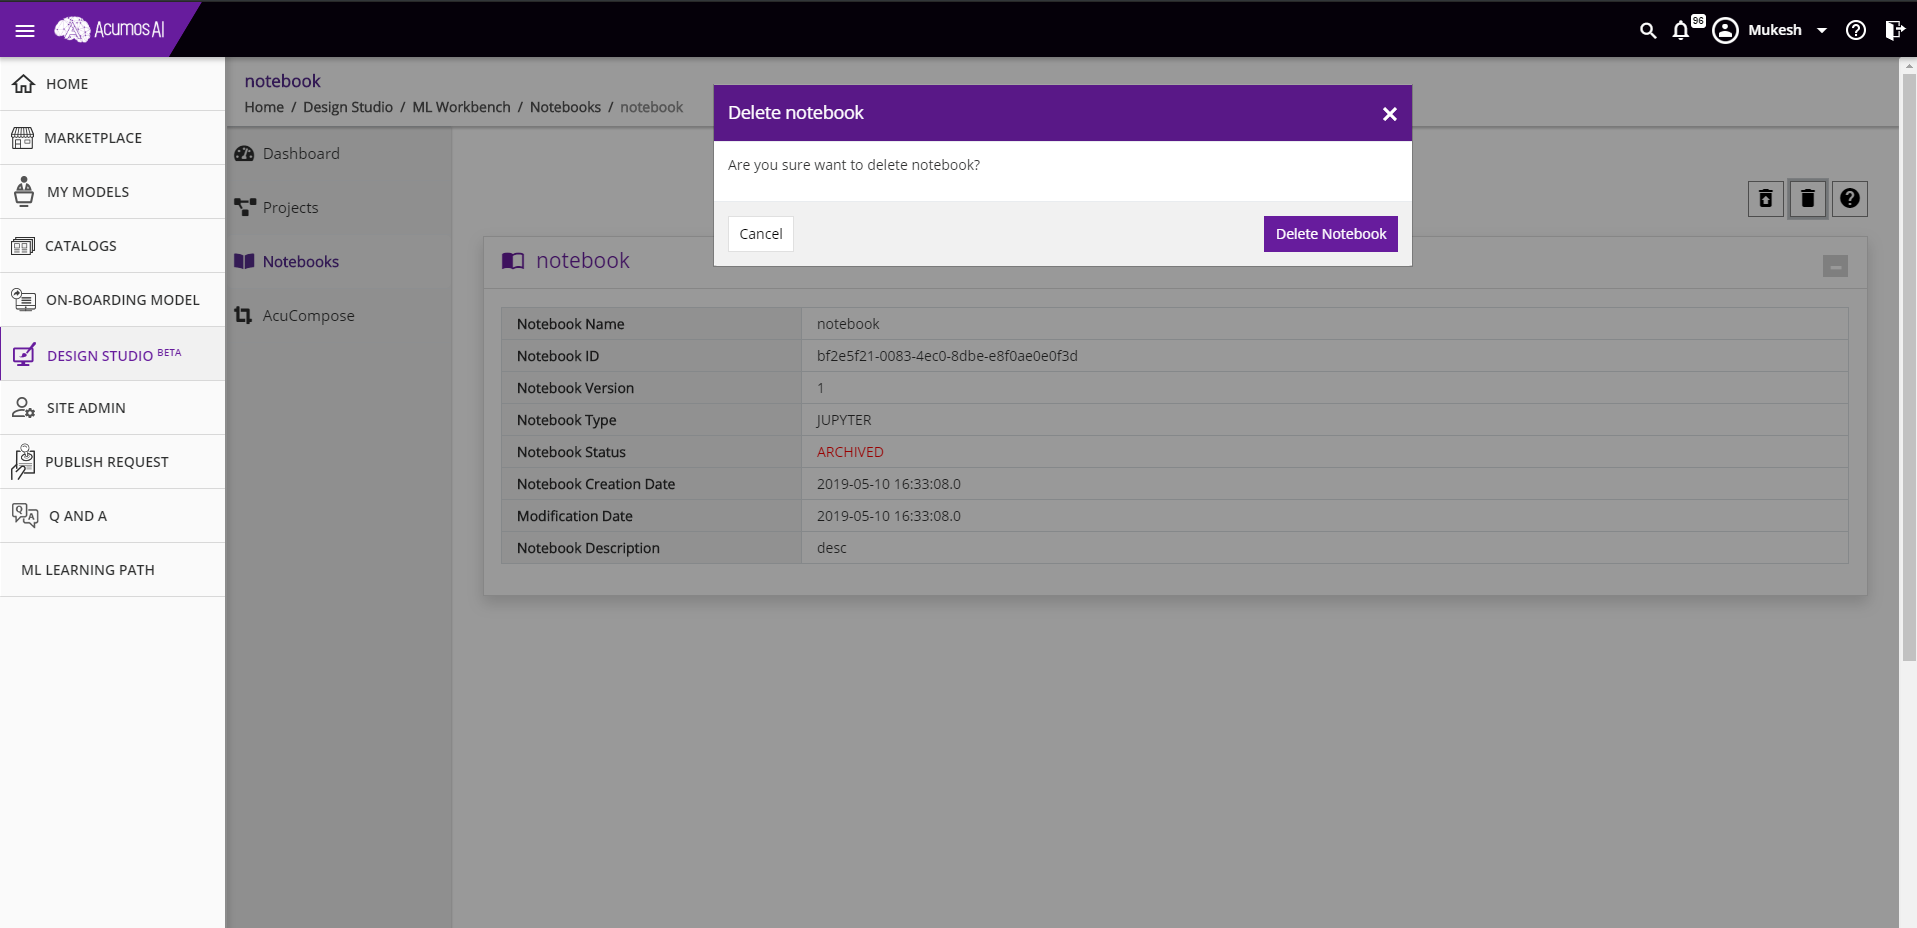
- Delete Notebook
If Notebook is archived then Delete button will be enabled for a user to delete the notebook. On click of Delete Button, Notebook will get deleted and user will be redirected to the Notebook Catalog Screen.
- Launch Notebook
If Notebook is active, then launch button will be enabled for the user. On click of launch button, notebook will be opened in the user specific Jupyter Instance in a new browser tab.